Friday, January 18, 2013

Man and Woman

I started 2 art journal pages with similar backgrounds, then took them in different directions with very different images:

Mr Washington Irving is feeling a bit stuffy, but you know he's got mischievous streak hiding in him:


And this gorgeous gal is ready for some fun, but I think she doesn't quite know where to start. Bingo!

Do you ever feel that way? I know I do!


Thanks for looking! Susan


Valentine's Cards, Part 1

I'm making a whole bunch of Valentine's cards this year for Cards from the Heart. I did this last year too and absolutely love having a reason to shop for cute products and make a bunch of cards!


I found an old Inkadinkado stamp set in the $2 clearance bin at AC Moore, so each card is getting a cute little image inside, and then I'll write a message as well:


(Sorry, I know that isn't a great picture!)

So far I am sticking to Memento LadyBug ink because it doesn't run. I'd like to use the more vibrant Stampin Up inks, but they run at the slightest hint of wetness!! 

I'm doing some experiments with sealant, so we'll see how that turns out!

Thanks for looking!!
Susan 


Thursday, January 17, 2013

Mini Collages

These collages are about 3 1/2 inches square. I made them for the Cloth Paper Scissors "Make Mine Mini" challenge but they didn't get picked as finalists.

Rock Star:

This one uses a Unity Bella Doilies stamp:


Maze


I did make one other collage that did get picked as a finalist, so no picture of that one right now! I have to send it in to their office for publication consideration.  It was 1 of 53 finalists, out of 300 submissions.

I am really thrilled it was picked. It was the one I almost didn't submit because I was sure it wouldn't get picked. So, you never know!!

Thanks for looking!
Susan

Monday, January 14, 2013

Handmade journal

I didn't make any art journal pages this week, instead I made my own journal!

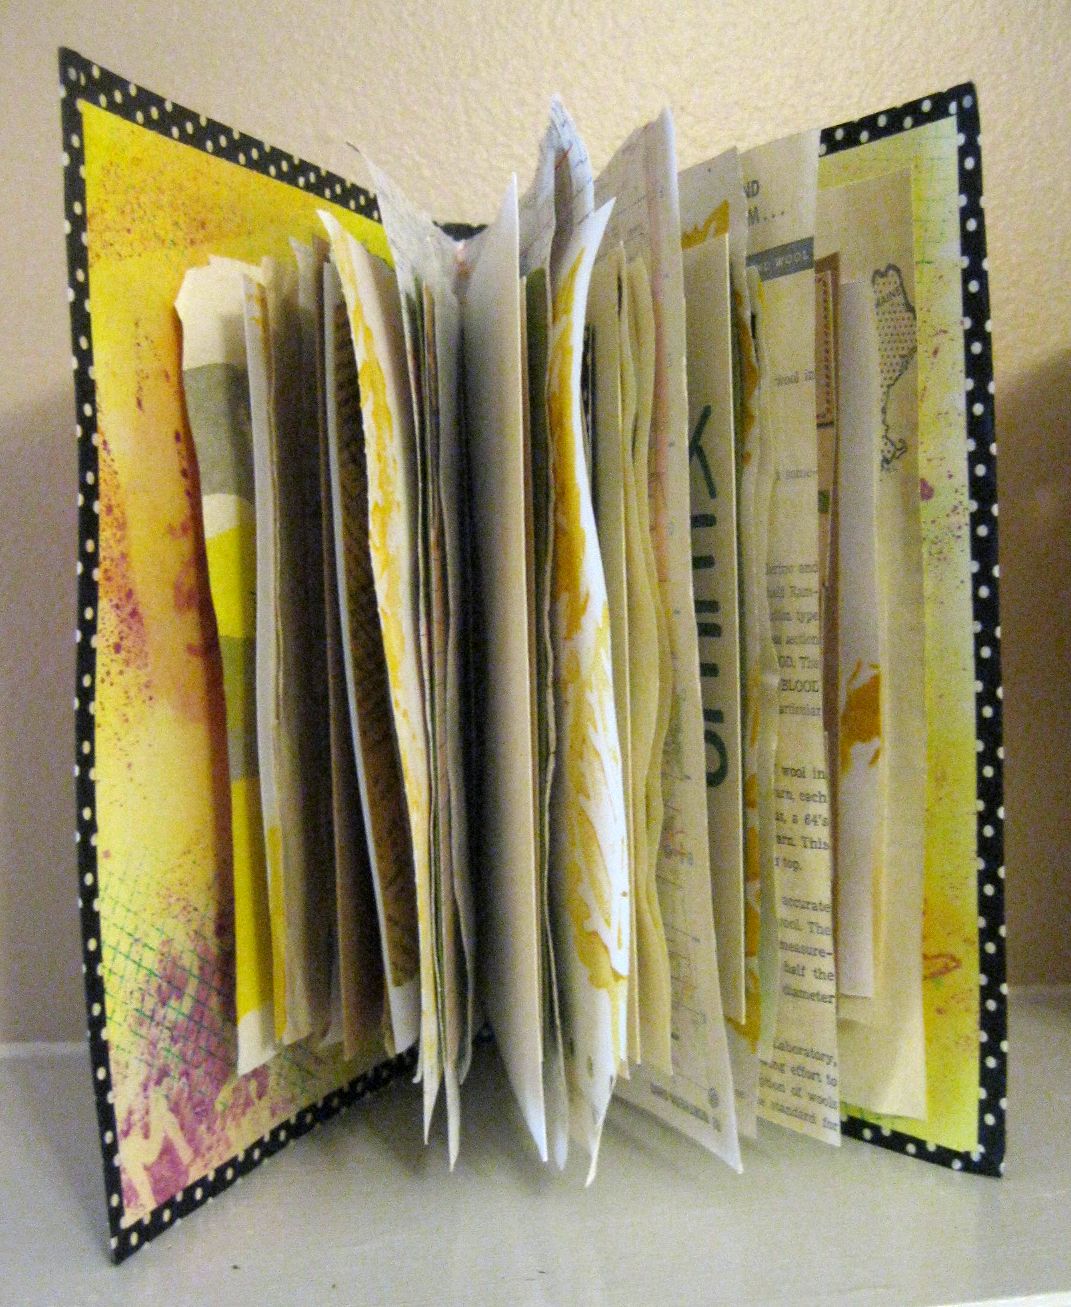
Using directions from The Complete Decorated Journal and Cover to Cover, I bound some of my painted and prepared pages into a journal:


Now, the first thing I will say is that the author of The Complete Decorated Journal calls this style a "30 minute" book and that is CRAZY. I spent WAY more than 30 minutes on this binding! I guess she's made a lot of them and can whip them out in 30 minutes, but I sure can't!

The cover of my book is watercolor paper, decorated with water color crayons and glimmer mist, then spray with a fixative. The ends and spine are covered in washi tape.

Inside is a mix of vintage and new papers (most are painted or gesso'd), as well as some envelopes.


I used a variety of sizes of paper & envelopes, and definitely learned that that makes the binding really hard for me to sew. It was hard to clip everything firmly together when there are so many different sizes. As a beginner, I will definitely stick to same-size papers for now!!


This was a great way to use some of the pages that have been sitting around waiting for a purpose, as well as try out some paints and embellishments I have on hand.

I hope you like it! Thanks for looking!

-Susan

P.S. This is linked at Art Journal Every Day


Friday, January 11, 2013

Make your own

I set a goal for myself to participate in every one of the Moxie Fab challenges this week! However, the challenges are coming fast and furious and I can't keep up. So I decided to combine 2 challenges in one card.

This card combines the "make your own background paper" challenge with the "Stamp with a homemade stamp" challenge.


Here's what I did. First, I used bubble wrap and turquoise ink to stamp the background. I like bubble wrap stamping with ink better than bubble wrap stamping with paint for cards, because I usually end up with a warped card from too much paint slopped on by the bubble wrap!

The turquoise ink did come out lighter than I would have liked, but this is some old, cheap-o Ink It Up ink that AC Moore doesn't even sell anymore!

Next, I used a toilet paper tube and paint to stamp the large circles. I stamped off the tube a couple times to make sure I didn't get too much paint onto the card.

Finally I layered a sentiment sticker onto a border sticker, and put all that on top of a torn strip of music. The music is actually from the bag I got at a music store when I went in to buy my kids' piano book. I think I need to go back there and buy more stuff just so I can get more of those bags! :)


Thanks for looking!
Susan

Mini card

This mini card was made for the Moxie Fab mini card challenge!  I made this card by cutting a standard size card in half, so this one is 2 3/4 x 4 inches.

The first layer is a torn book page, layered with the large sentiment sticker and topped with the 2 flower stickers.  I trimmed the flowers down so they fit onto the card front. This also let me use up a sticker that had been damaged on one side. I just cut that part off!


Thanks for looking!
-Susan

Thursday, January 10, 2013

Artistic Outpost

Santa brought me a couple new stamp sets for Christmas, Typography & Quote and Quotable.  I love both of these because I hate my handwriting and rarely have the patience to spell out sentiments or thoughts with alphabet stamps. So these collections are perfect for me!

I made a mini-accordion book style of card to try out a few of my new stamps:


I've been experimenting with lots of mini-books, pamphlets, etc lately, and I'm sure these stamps will be getting a lot of use!